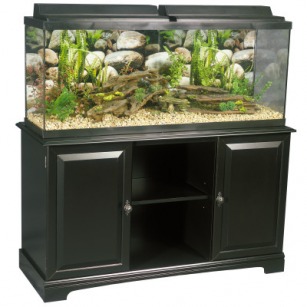
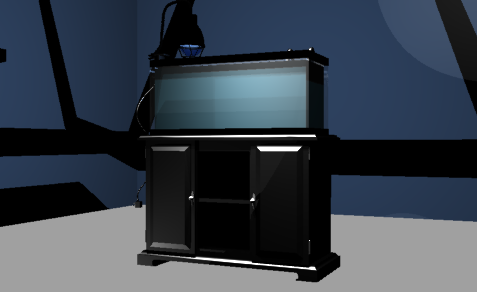
The project below is titled my fish tank. It took an incredibly long amount of time and I had to overcome many challanges along the way. One major problem I had to overcome was the fact that the glass of my fish tank would not render properly. Every time it was rendered, no matter what style glass it was, it looked like granite. I soon found out what was causing this problem. When I put the render in Flamingo Raytrace the glass would look like stone, so when I used Rhino Render instead of Flamingo it worked. The glass rendered, and my fish tank is finally complete. Below are the steps I took to build the tank. Step one was the tank and stand, step two was the light and finally step three was the filter.
Fish Tank
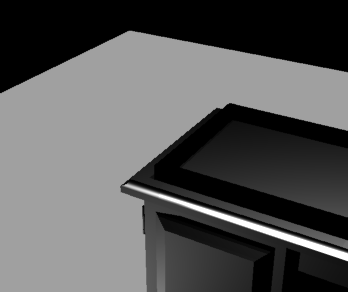
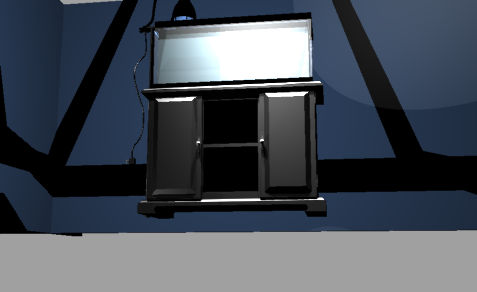
This is my fish tank. I have been working on it for about 3 weeks now. I first started with the stand, using Boolean Difference to make most of the minor details. This fish tank and stand looks exactly like one you would find in petsmart or petco. I really like what I did with the bottom and the top of the stand. I used Boolean Difference but instead of making a sharp coner on the sides, I used a slanted object to cut out the top and bottom of the standin order to get a more rounded and slanted look. Enjoy!
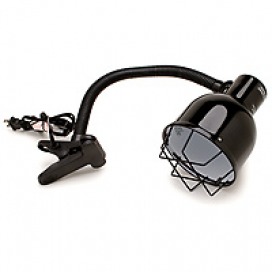
Clamp Lamp

This is the clamp lamp that I have been working on for the past 3 classes. It has a flexible neck, and a clamp that is connected to a black piece of wood. There is an MVB bulb on the inside that will be used for heat and UV rays. I did not use a lot of special commands in the making of this object. It is basically a lot of solid objects and pipes brought together the way I saw fit.
Finshed Filter
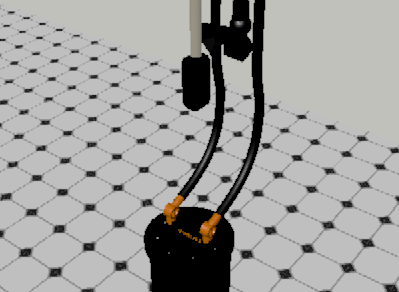
This is the finished filter that I have been working on for about a week now. One of the major commands I used was Boolean Difference. This helped when I made the lid for the filter and the valves that connect the hoses to the filter. I also used the polar array command in order to make sure the objects I was using in the Boolean Difference were in line and proportinal to one another.

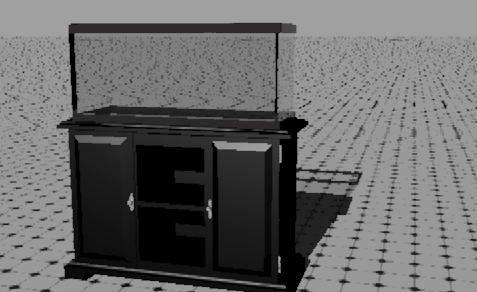
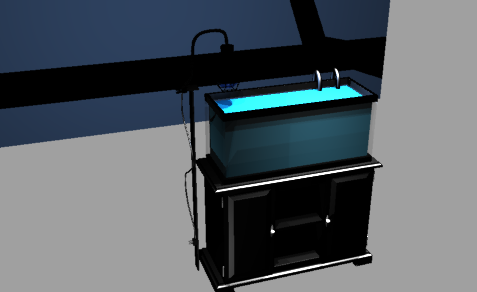
Fish Tank Finished Product
This is my fish tank. I have been working on it since I joined this class in September. I have delt with many problems and overcome many obstacles but now it is fianlly done. The above slides show how I got to this point. I hope you enjoyed. My next project will be a robot.
Conclusion:
I discussed my design with Marissa and I was told that I should have made the water more realistic. I was attempting to do this with my original design but due to the fact that my design wouldn’t render in Flamingo, I was not able to make the water look realistic. Personally speaking, I believe I did a satisfactory job and the tank would have looked a lot better had it rendered properly.
Reflection:
This project was probably one of the longest projects I've done in Rhino. I believe that I need to be able to "round" surfaces more. By this I mean that the surfaces I created, especially the table, should have more curve and more of a rounded look. In my next project, I will experiment with different splits and Boolean Differences in order to reach this goal.
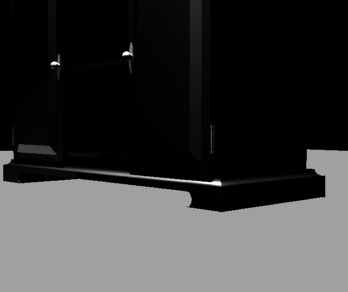
Improvements to my Fish Tank
As you can see, i made the edges of mthe stand a little bit more rounded. I did this by just adding cylinders and piped lines to make the surface appear rounder. Overall, I am happy with the finished project of my fish tank.