This page will be soley devoted to my robot. Mr. Croke has given me the challenge to design a robot that will preform a certain task. I must design a few differnt models of this robot using the design process. Over the course of this project i will be updating my page with day to day pictures and comments of what that day entitled. I will begin with the brainstorming process to figure out what task i want my robot to preform. Then i will move on to building my first model. My final project will be a line of differnt robots that do the same task but look very different.
Robot Problem Statement
I am working for a lawn product company (like John Deere) and need to design a robot that mows a lawn ranging in size from large to small. This mower needs to be durable and safe, especially for kids under the age of 10. Also, it should be user friendly to the person that is setting up the mower.
Robot Parameters
- Needs to contain a re-chargeable battery.
- Should have safety features that protect adults, children, etc. from being hit or run over.
- Should be able to bag or mulch the grass it cuts.
- Should be able to make neat lines and quick but accurate turns.
- Should have a user friendly screen that tells when the mower needs maintenance, when the bags are full, and other important details regarding the mower.
Robot Brainstorming
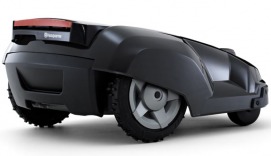
I have thought about a few different models that would appeal to different clients. One idea would be a residential version of the lawn mower. I smaller, more fuel efficient version that would be used to mow small to medium sized lawns. My second idea was a commercial version that would be larger, have a larger capacity for grass, and have a larger mower deck to mow large to extra-large lawns. My third idea was to make a mower for incredibly small lawns, like the lawns you would find in a large city. This mower would look almost like a Roomba; it would be very efficient but it would lack the ability to bag grass.
Day 1
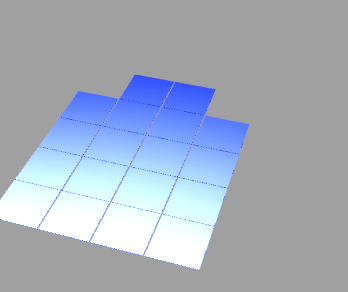
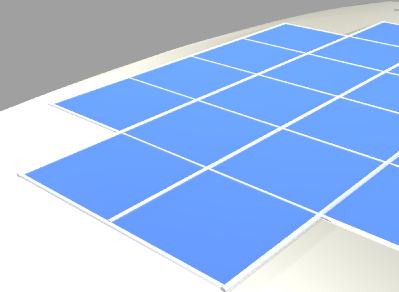
Today was the first day of the mower project. I designed the solar panels that will be used to power the lawn mower. They are made of simple squares that I etruded a small maount and then capped. I customized the color of the panels in Flamingo to make it appear more like a solar panel. I wanted to create a color that had a high reflectivity and had a decent amount of sharpness.
Day 2
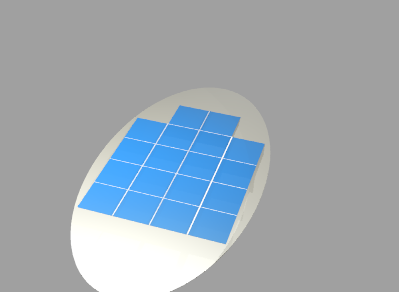
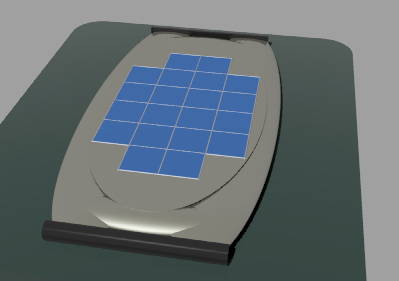
Today, I played with the color of the solar panels and also added a base for them. Will helped me with the color of the panels by explaining to me how to change the tansparency of the color. To make the base of the solar pannel, I basically used a 2 dimensional elipse, extruded it, and then capped both ends of it. I made the base a Black Car Paint color to really allow the pannels to stick out.
Day 4
Today was a very basic day. All that was necessary to do was to fix the solar panel color to make it more reflective and then I added some pipes inbetween the panels just for looks. I only commands I used were the custom color comand and the pipe command.
Day 6
This is the beginning of the body and the dock that the battery pack attaches to. The origional color was red but I thought the British Green looked better. The two black half circles are the docking ports for the battery. To make those, all I did was make a cylinder and slit it with a cutting plane. The body is only a box with filleted edges.
Day 8
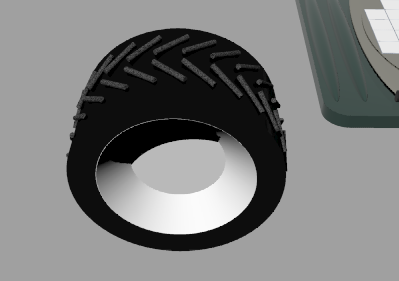
Today was probably one of the harder days. I needed to make the wheels for my mower. I started with a basic design I found on the internet. I made two cones for the inside of the tire and then I used Boolean Difference to obtain the shap[e i wanted. To get the tire itself, i just split a cylinder and deleted the middle. The treds are just pipes that I polar arrayed around the tire.
Day 10
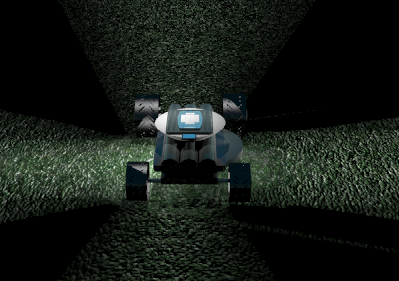
Within the last two days I have put together something amazing. To begin, i mounted the solar panel onto a larger half circle for a good base. Then i added three large pipes for the bagging system. Next, I made the mower deck a rectange with a half circle as an edging attachment. I made the axles on balls so they would be able to move freely. I made the tires slightly larger by using the scale command.
Day 12
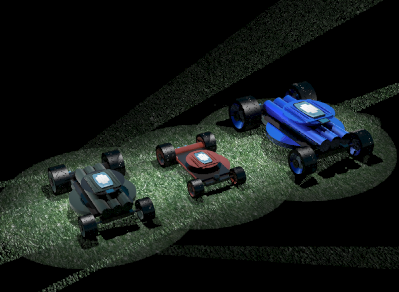
After about 2 weeks I have finally finished the robot project. As you can see, i made three different models. One is small and can be used for small lawns, one is medium, and then the industrial size. I made the back axles a lot larger for support purposes. Also, on the smallest model I took out the bagging attachment. I hope you enjoy the movie file below.
| robotanimation.avi |
